So at the last minute, I decided to sign up for a saw sharpening class at CT Valley School of Woodworking, Saw Sharpening 101 by Matt Cianci (The Saw Wright, The Saw Blog). I’m glad I did, because while I’ve tried and had some success with filing my rip saw, my crosscut was woeful despite being an excellent saw (a Disston 7, early 1900s based on the etch). The class itself went over the basics of sharpening, the different terms (rake, fleam), basic techniques but the best part was actually getting the files out, putting the saws in the saw vise and getting some practice with an expert looking over your shoulder.
For my rip saw, I went with a 5 deg rake. First of course was jointing all the teeth and for the rip putting a little bit of ‘breasting‘ on the saw plate. My saw was over-set and while I could have reduced the set, I didn’t want to chance snapping a tooth off– I figure I can live with it, and as I sharpen the saw it will eventually lessen. Because of my eyes, I had a bit of a hard time seeing the flats easily with my glasses on, so I’d switch between wearing them and not.
The crosscut got a basic sharpening of 15 deg of rake and 20 deg of fleam. This one was tough. Matt suggests doing all the filing on crosscuts from one side of the saw (rather than flipping end over end and changing guides). That was easy enough, but the tough part, for me anyway, was filing from one side and making sure on the first pass I only removed half of the flat from the jointing. I ended up making 4 passes (2 in each direction) slowly getting the flats down until they disappeared. Of course this took longer and I’m sure with practice will be a lot easier. But I didn’t want to file the teeth too much or they would no longer be level with their neighbors and won’t do any cutting.
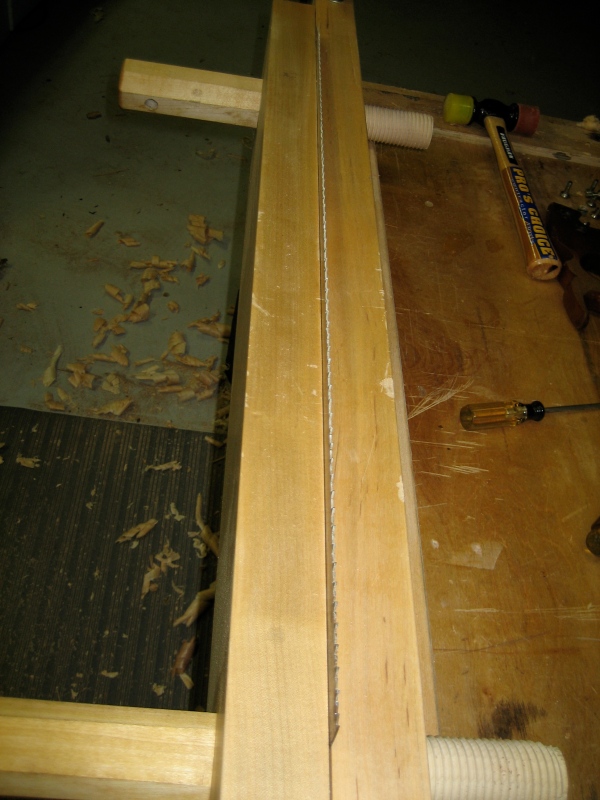
Despite the class running from 9:30-5pm with a 45 min lunch, I wasn’t able to finish sharpening both my saws in class. Thankfully part of the class fee included the files we were using and our little rake and fleam guides, so all I needed was a saw vise. Well crap, these two saws are my main hand saws for preparing stock, so no chance of making one without them. Hmm, I have a moxon vise, let me see if I can use that. Now the simple saw vises we had at school did not have enough clearance for our handles, so I had to remove my handles anyway, so I figured I could do the same with the moxon.
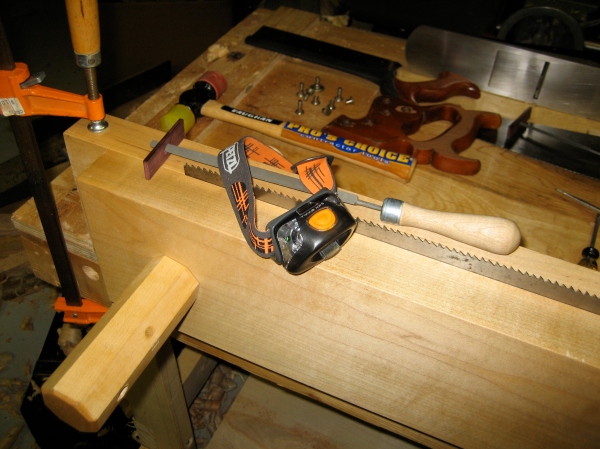
Sure enough, my rip saw fit without much problem. Since I was just doing a basic sharpening, I didn’t have to worry about dropping the file handle down for adding slope, so clearance on both sides of the vise wasn’t really needed. I also added a ‘miner’s’ light so I could easily see the flats without fighting with a spot lamp. This worked *excellent* and made sharpening a lot easier for me. I could see the exact moment the flat disappeared. The other nice touch was using my saw bench to sit down and give my back a rest.
Here you can see the clearance for the saw plate and the moxon vise. My rip saw is 26″. Obviously I’d rather have a saw vise where I don’t have to take the handle off, but in a punch this vise worked great. No chatter and it held the saw plate tight with no flexing. BTW I have no idea what that extra half-hole is in the saw plate. It’s funny the things you discover when you take the tote off a saw–the cross-cut had a 6 punched in it near the top hole.
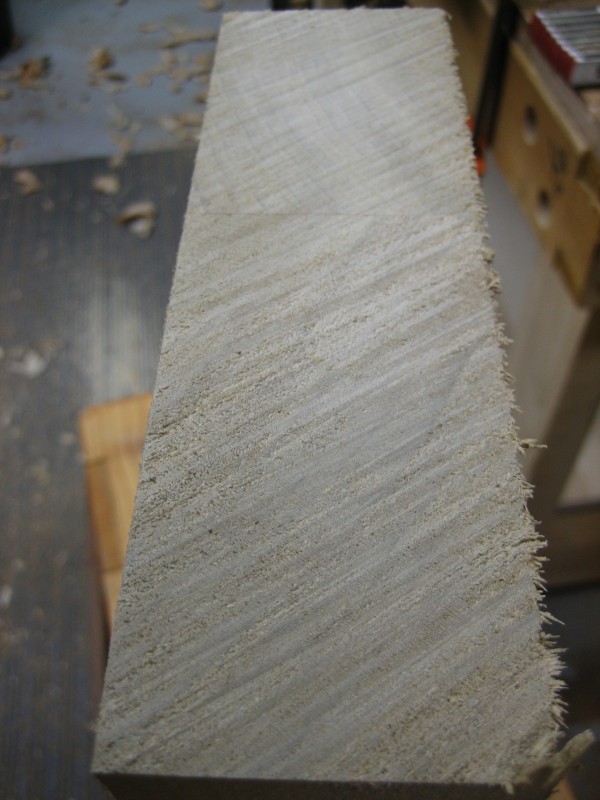
I touched up a few of the teeth on the rip saw where I saw flats with my head lamp. I then finished to the toe–I only had about 1/4 of the rip saw to finish for the sharpening. Snapping a line for some rip testing on some 5/4 poplar stock I have. It cut pretty well and didn’t wander at all in the cut, so I am pretty happy with my rip saw.
On to finishing up the crosscut. I had to touch up about half the area I thought I had sharpened the day before. There was something about either my spot lamp or the light in the school that made it hard for me to see those flats. I had more of the saw to sharpen, probably 1/3 to the toe. It was fairly pleasant with some music going. The miner’s lamp made a huge impact and I think the crosscut actually turned out better than the rip saw.
After sharpening, this crosscut literally flew through a piece of 4/4 white oak stock, so I decided to try it out on some 8/4 poplar scrap I had from a guitar build. Damn, pretty quick despite being a 10 point. Certainly not a finish surface but it is a hand saw, something I’ll use for cutting down rough stock to rough length.
I then tried it on a wide pine panel I had, roughly 3 feet wide, and it tracked great, cut quick, and had no problem starting the cut.
Now that I feel somewhat competent at making a saw sharper (even if not perfect), I think I’ll be in ‘saw acquiring mode’ the next time I go to an auction. I could see getting a 5 or 4 ppi rip saw and possibly try to find a sash saw that Matt has written about on his blog.
Addendum: I picked up a Harvey Peace backsaw at a local consignment shop–14″, looks like a perfect candidate to try the sash saw treatment on. Nice, straight saw plate, nice patina. They also had a Stanely 42 saw set, looks to be early. I’m feeling a bit cross-eyed at the moment though, so I think I will hold off any more sharpening for a few days.

